Chapter 0-3 The Lonely Research
Complete Walkthrough
Hello everyone, and welcome to our Walkthrough for the Third Stage of Chapter 0 for the Frankenstein Room ESC adventure game.
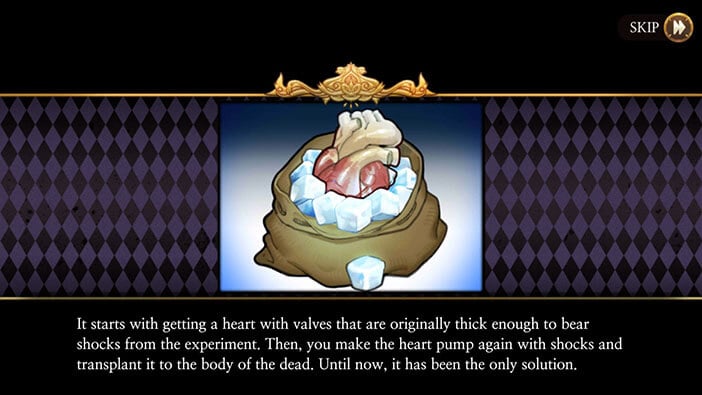
The story continues after 10 years have passed since Alphonse’s death, and our main protagonist (Victor) has stayed true to his word. He graduated at Bayern University with excellent grades and is now looking for a way to complete his father’s experiment, but financing it is a big, almost insurmountable problem…
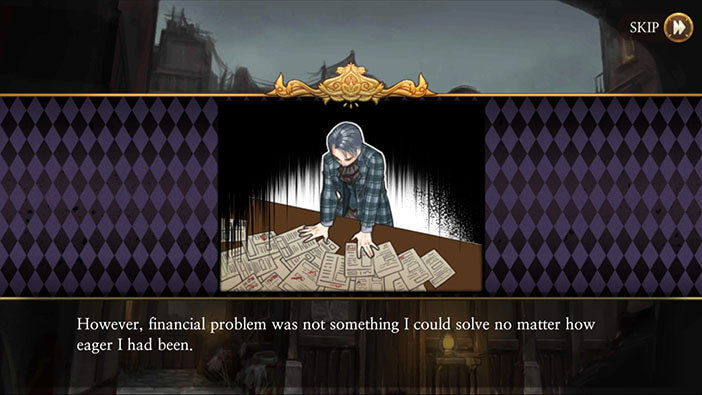
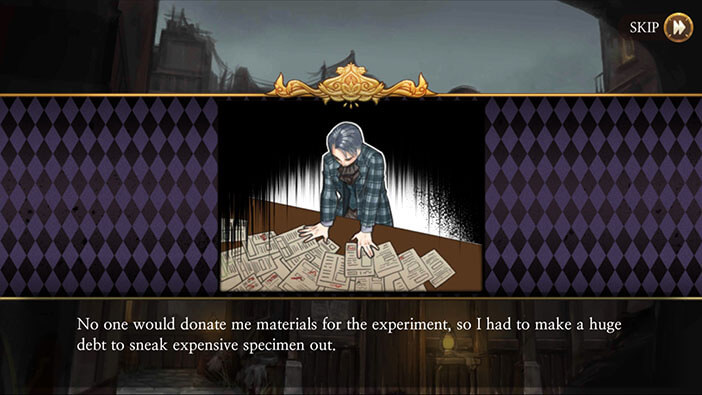
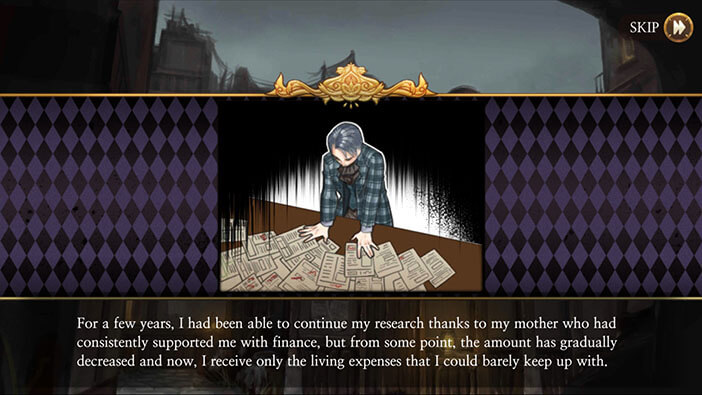
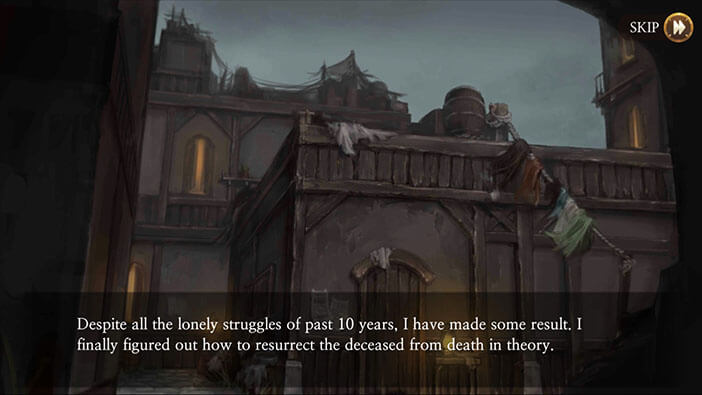
However, Victor managed to somehow finance his research by taking loans combined with financial aid from his mother. And now, comes the moment of truth. He won’t get any more money in the foreseeable future, and he only has one chance to reanimate the dead heart and prove that it’s possible to resurrect the dead. And that’s how this stage of the story begins, in Victor’s Lab.
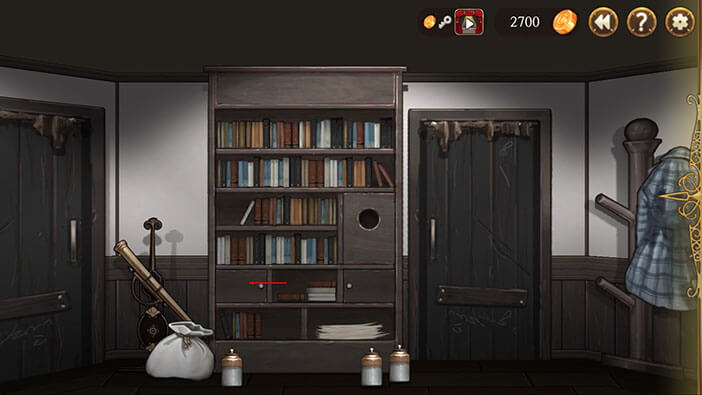
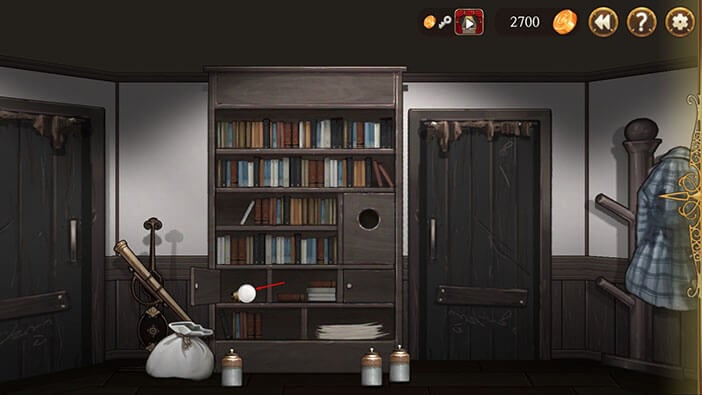
Open the left shelf cabinet and pick up a Light Bulb, we will use it later. Also, note that the top drawer is locked.
Next, look to your left and you’ll see a desk. Remove the sheet and uncover the machine on the desk.
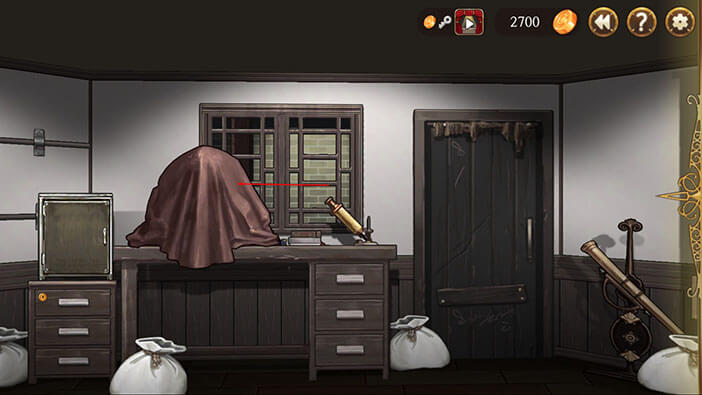
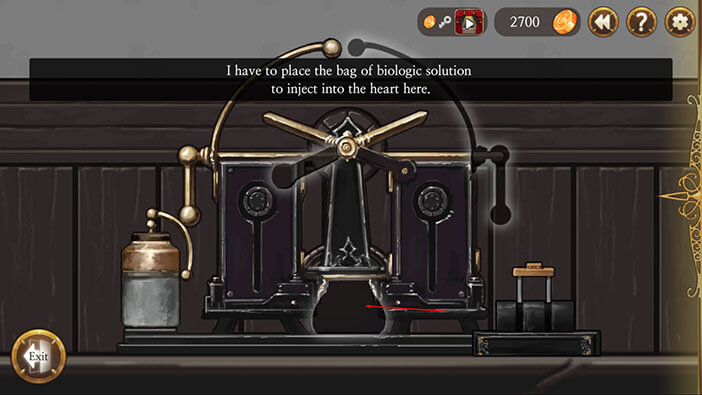
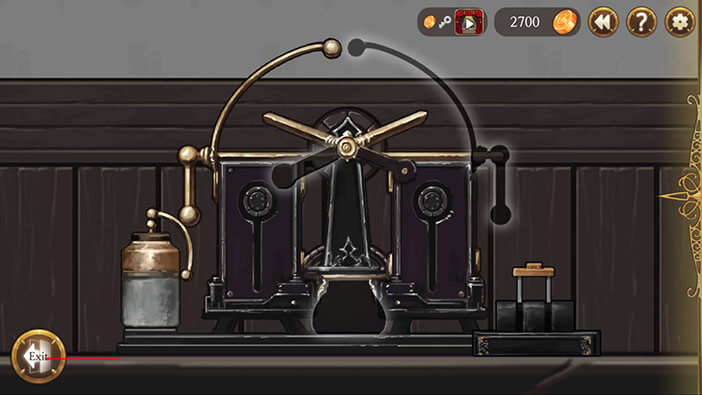
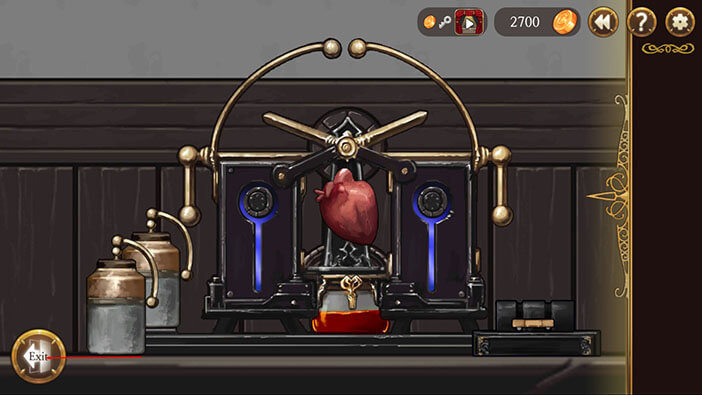
If you examine the machine, you will notice that two parts of the machine are missing and we will have to examine the room in order to find them. Also, tapping on the empty space at the bottom of the machine reveals that we will need to find some kind of biological solution that has to be injected into a heart if we want to run a successful experiment. So, let’s look around the room for the missing components.
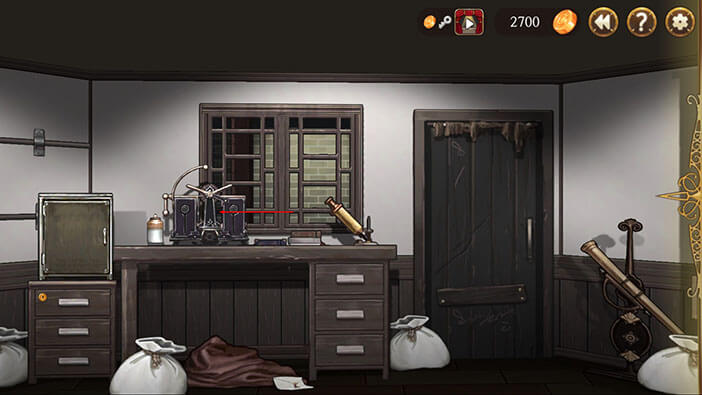
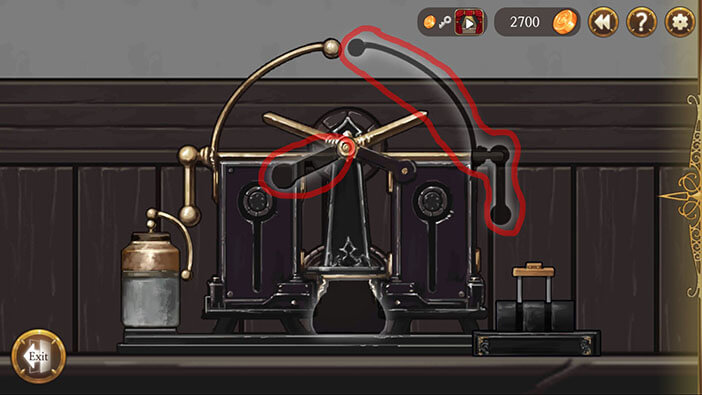
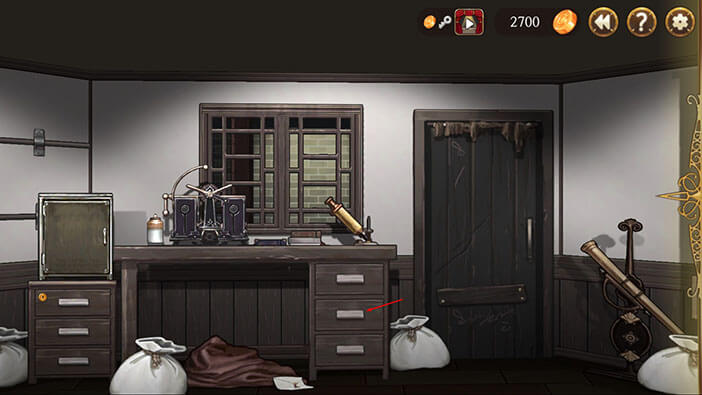
Open the middle drawer on the right side of the desk and pick up the Parts of the control device that assimilates the voltage of a storage battery and the body voltage of the heart. This is the part of the machine, but we will use it later, once we have collected all the parts.
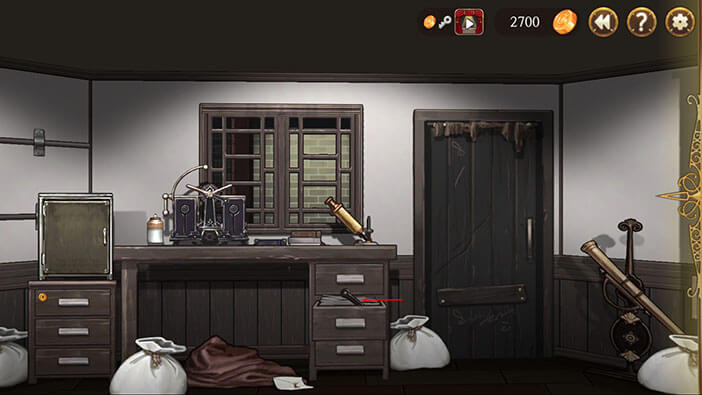
Next, open the bottom drawer to the left, and pick up another part of the control device that regulates the limits of the voltage that a specimen can withstand. Now we have both parts.
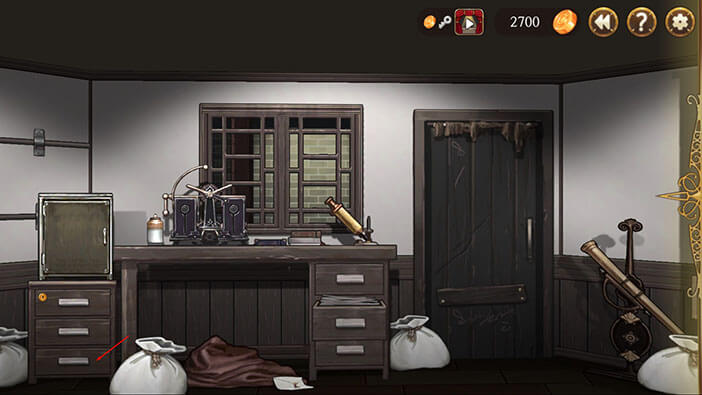
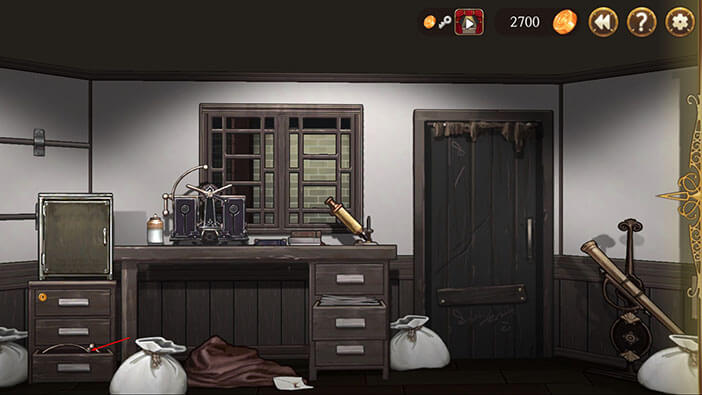
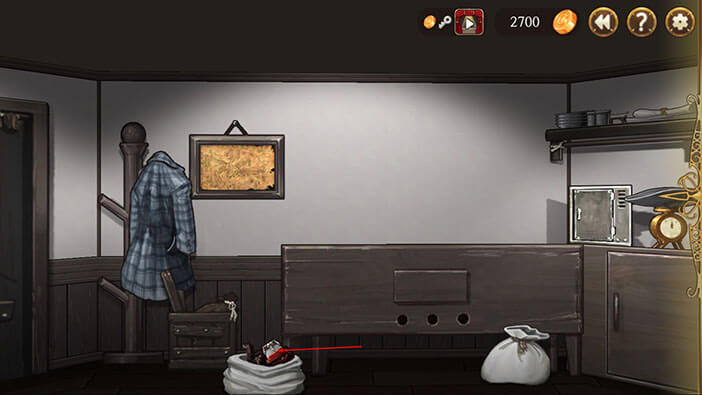
Also, make sure to pick up the Special Fluid from the white bag located below the coat hanger stand. At this point, we have the fluid that’s supposed to be injected into a heart, and both machine parts, so we are almost ready to start the experiment.
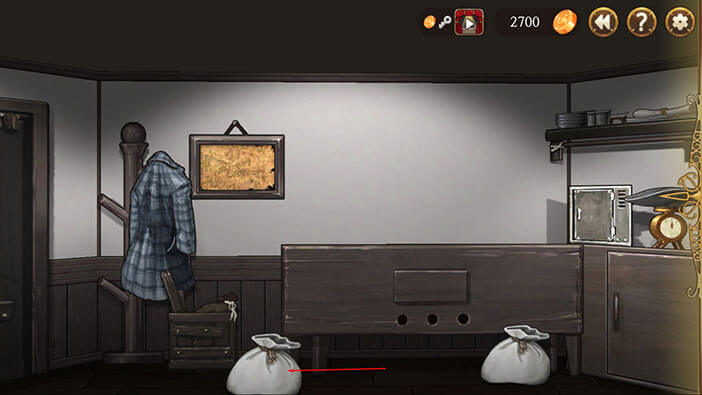
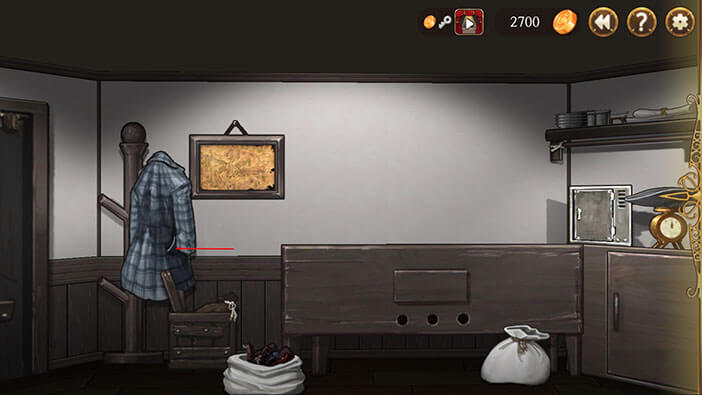
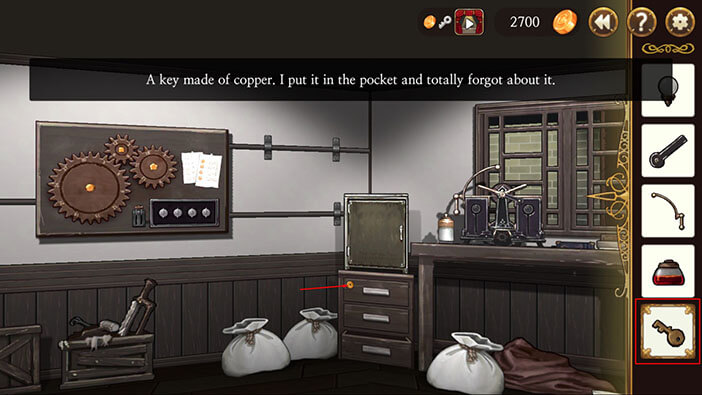
Before we do that, check out the coat. Inside one of the pockets, you will find a small key.
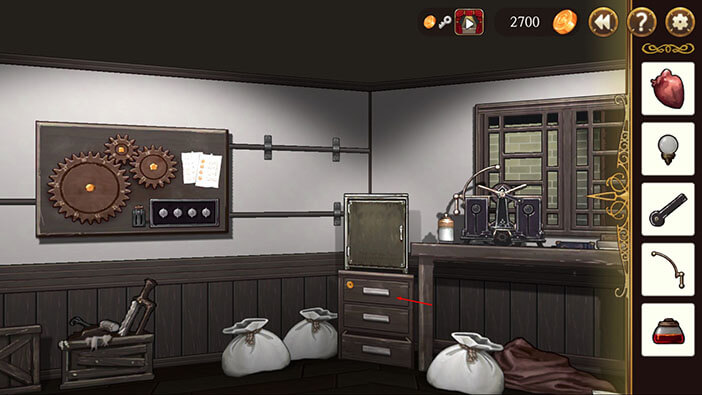
Go back to the desk on your right. Select the small key from your inventory and tap on the keyhole of the locked drawer to unlock it. Note that you have to tap on the keyhole itself – tapping on the drawer with the key selected won’t unlock it.
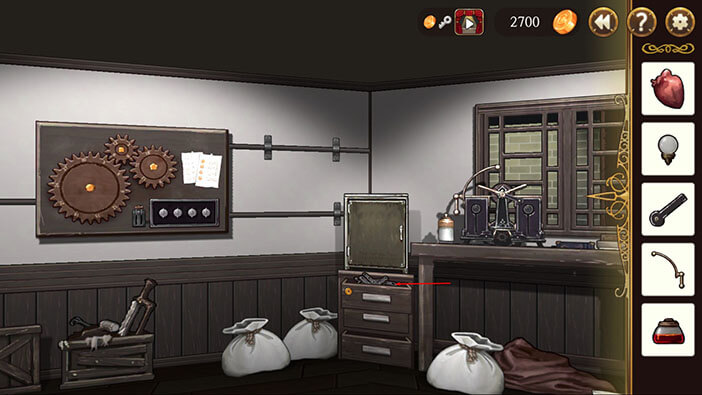
After opening the drawer you’ll find Parts of Electric device inside it – tap on it to pick it up, we will need it later.
Go back to the machine, select the missing parts from your inventory, and place them into a machine. Obviously (you can tell by the shape), the Part that assimilates voltage of a storage battery and body voltage of the heart should be inserted into the empty slot to the left of the machine, while the other part should be inserted in the upper slot, creating a small arch (kind of).
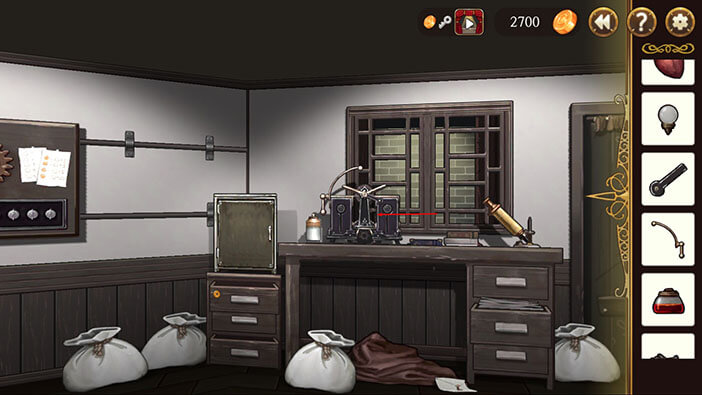
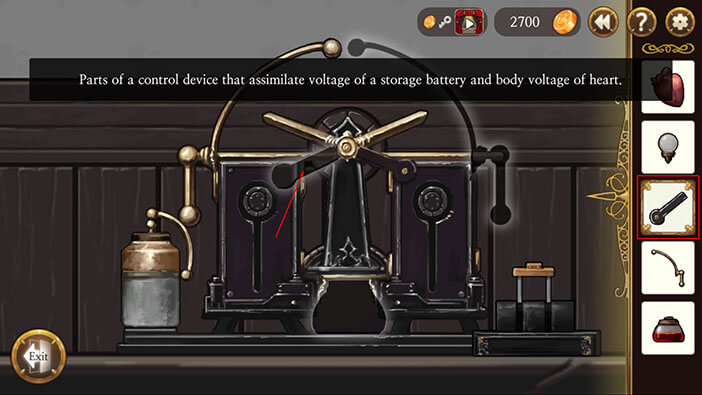
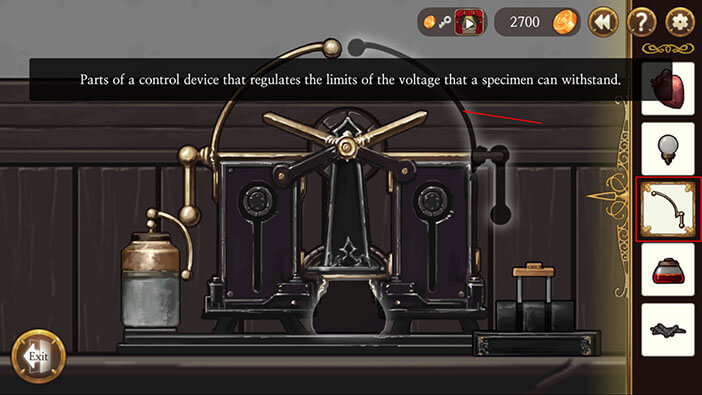
After that’s done, select the Special Fluid and insert it into the bottom slot of the machine.
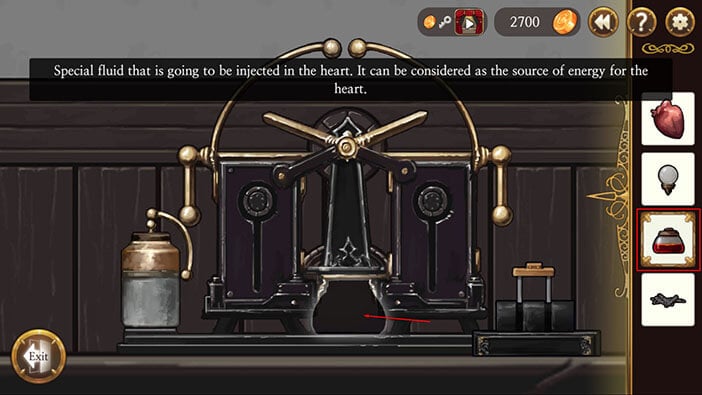
Next step, select the heart and place it above the Special Fluid.
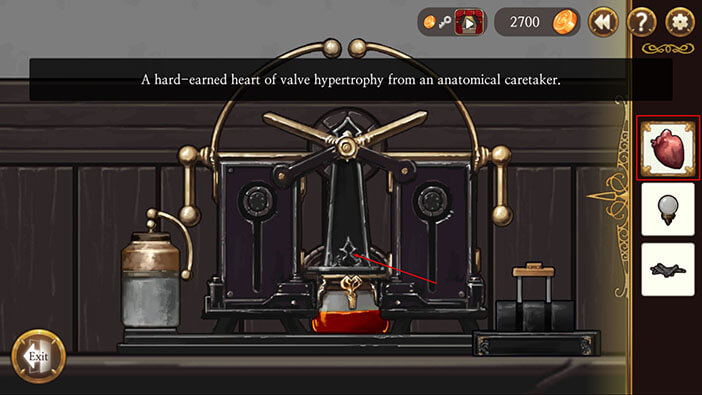
Let’s try to run the experiment by pulling the lever to the right.
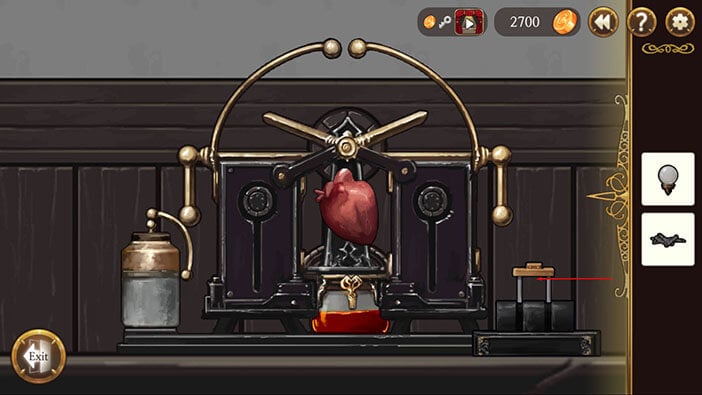
Damn! It seems our Leyden Jar is empty and we will have to replace it with one that has enough electricity in order to start the experiment.
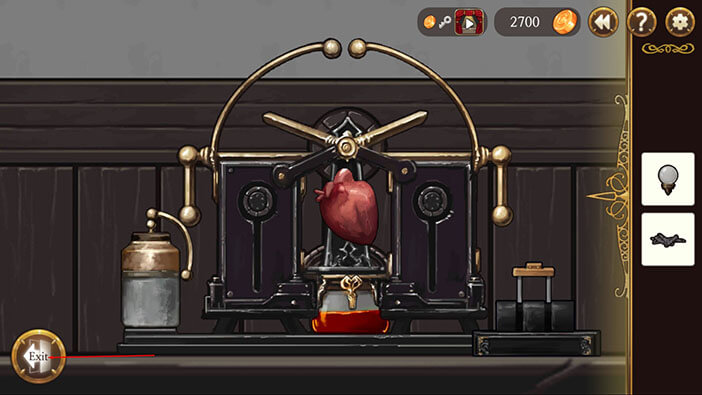
We can use the light bulb to check if one of the Layden Jars scattered around the room has enough electricity – select the light bulb and tap on one of the jars, if the bulb lights up, there’s enough electricity.
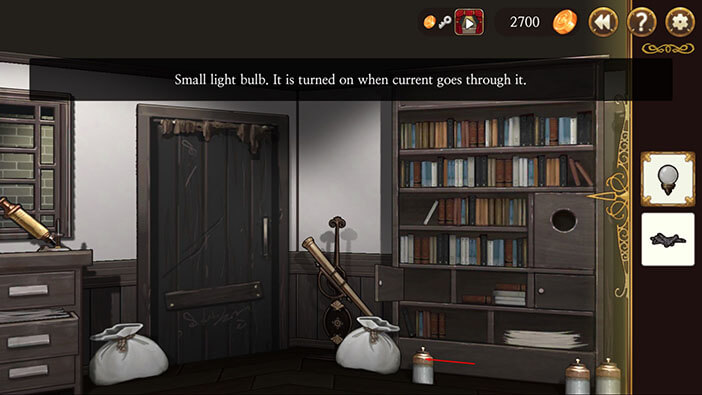
The first one that we found with enough electricity was the one in the image below – it’s inside the bag, so you’ll first need to open the bag before testing the light bulb.
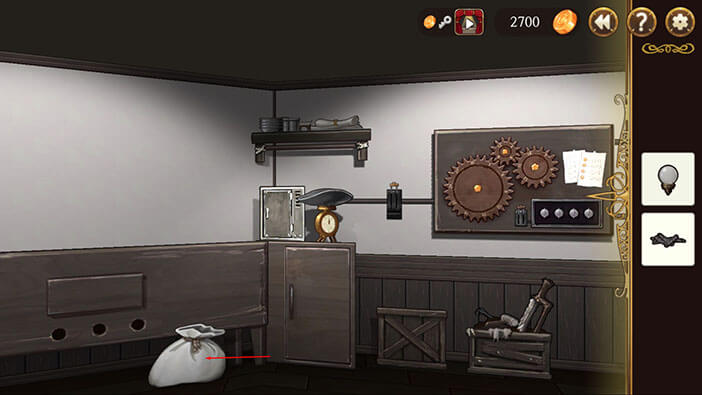
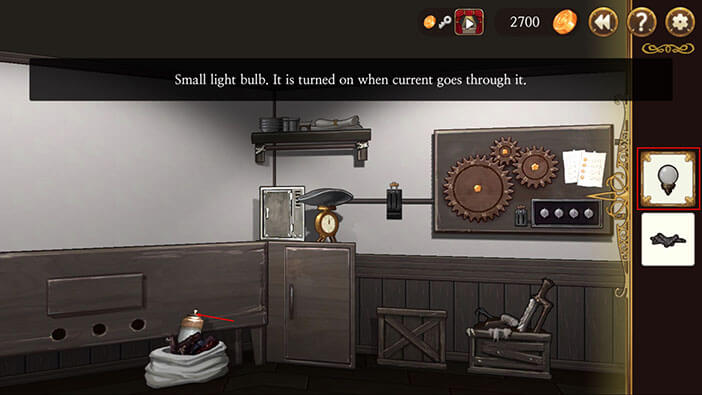
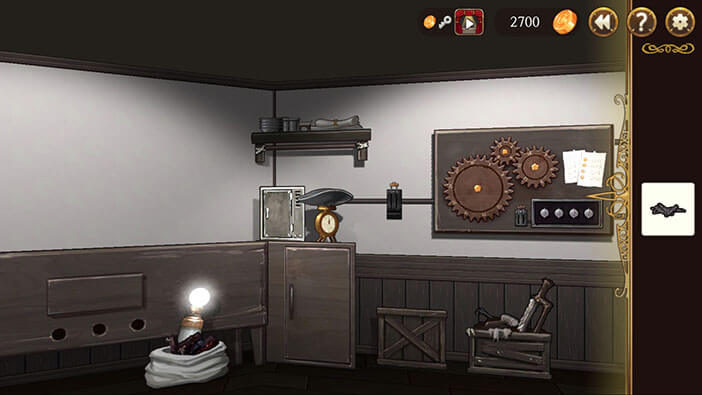
After we found the appropriate Leyden Jar it’s time to go back to the machine and replace the empty one. Select the Jar from your inventory and tap on the empty one to replace it.
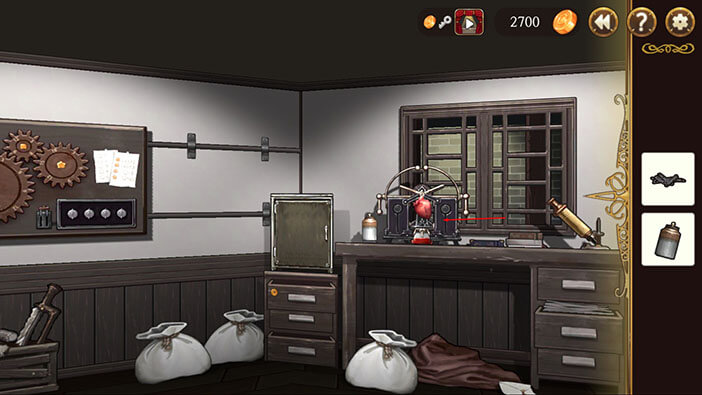
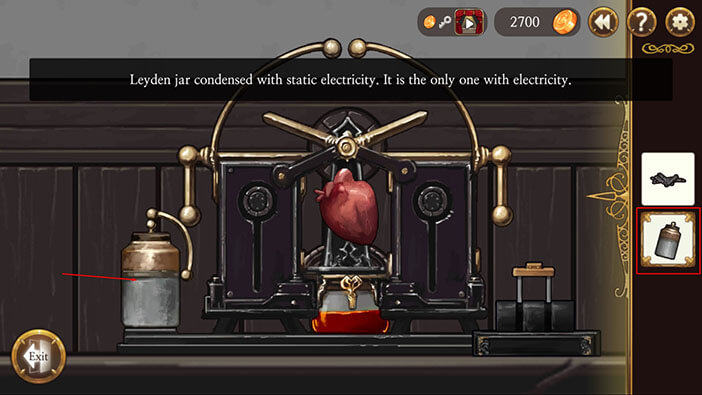
Let’s pull the right lever and test if our experiment will work.
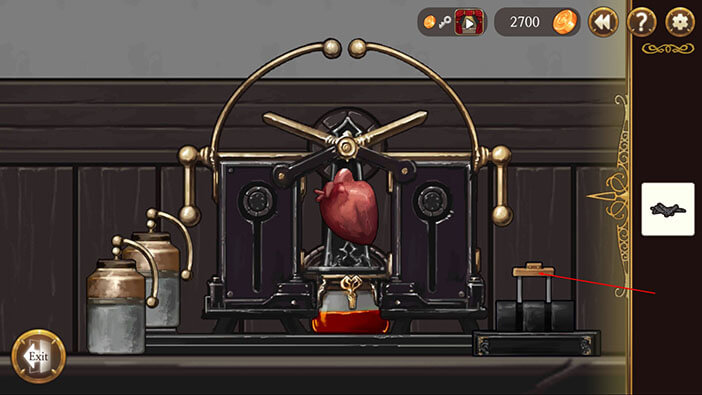
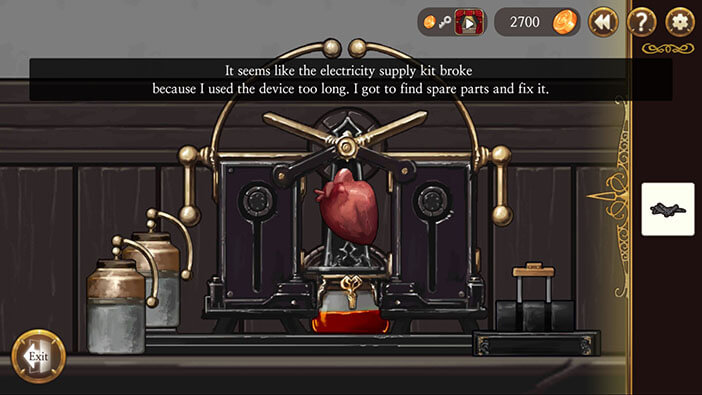
Dang! No luck, it seems the electricity supply broke kit broke and now we have to fix it. Let’s do that. To start the interaction open the inventory and select the previously acquired Parts for the electricity supply kit, and tap on the machine to start the interaction.
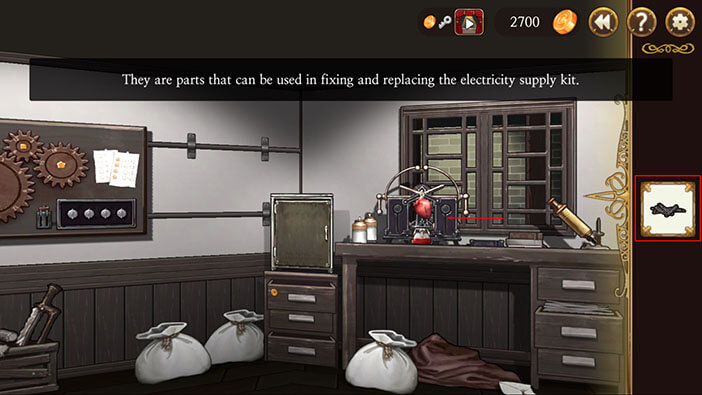
You will notice two panels, one on the left and the other on the right side of the screen, and also some parts with holes in them (4 vertical and 3 horizontal), located between the two panels. Take the vertical part on the far left and place it into the leftmost position on the left panel so that the upper hole on the part fixes onto the gold-colored screw.
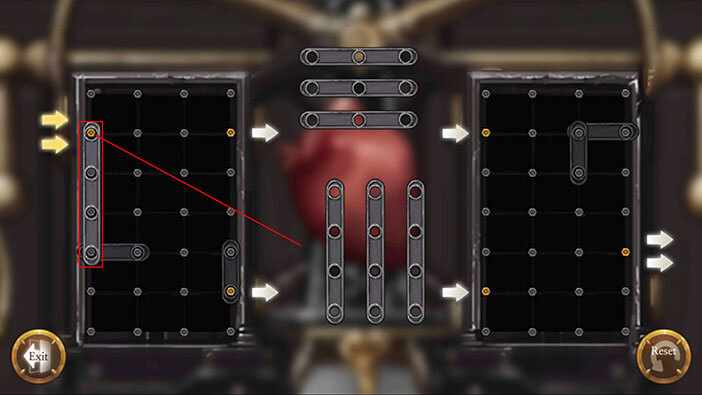
Now, take the other vertical part on the left and place it on the right side of the left panel, so that its upper hole also fixes onto the gold-colored screw, just like with the previous part.
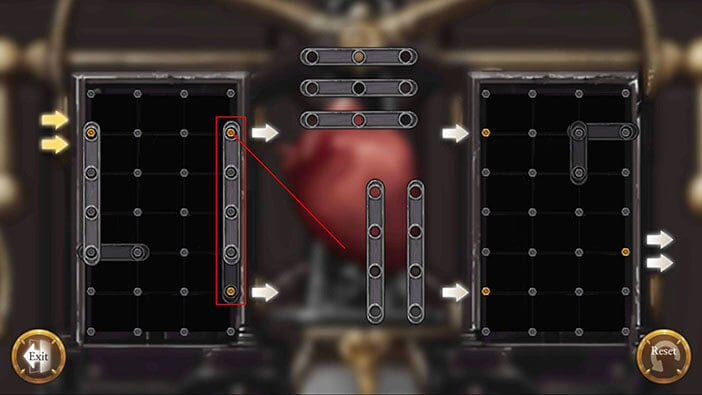
Next, take one of the horizontal parts and use it to connect the left and right side of the left panel, by attaching it to the one already placed horizontal part. After completing this task, we are done fixing the left panel and it is now time to fix the right one.
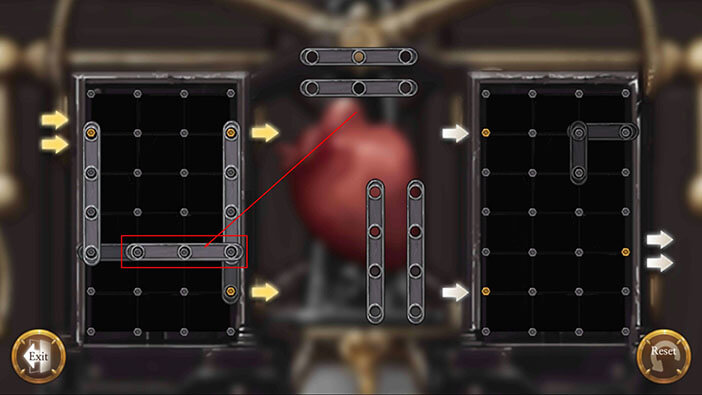
To fix the right panel, first, take one of the horizontal parts and attach it to the existing horizontal part so that the left-most hole fixes onto the gold-colored screw.
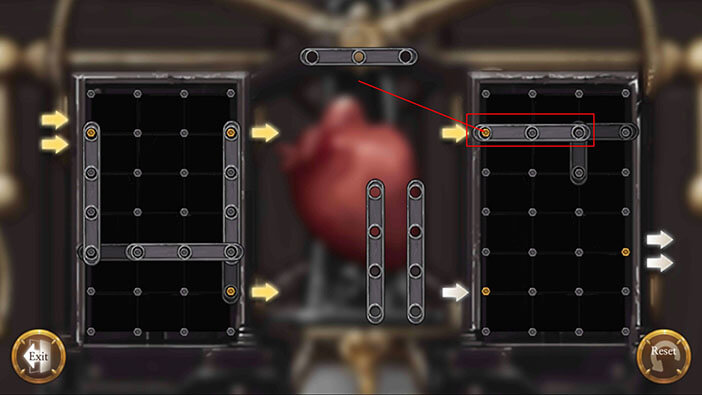
Now take another horizontal part and place it so that the left hole of the part fixes onto the gold-colored screw located on the bottom left side of the right panel.
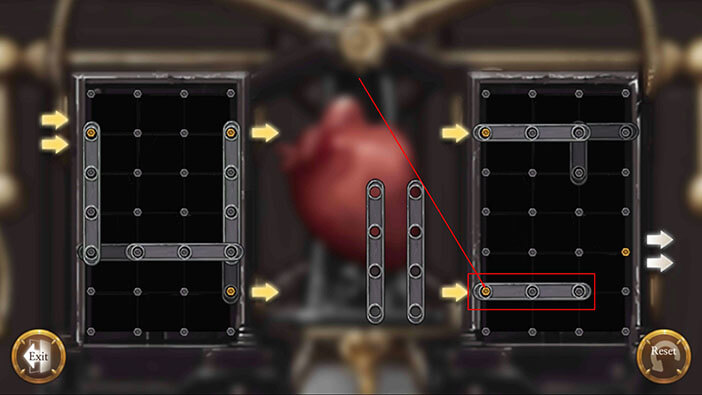
The next step is connecting the upper and lower horizontal parts of the right panel. To do that, take one vertical part and attach its upper hole to the bottom part of the small vertical part that’s already present.
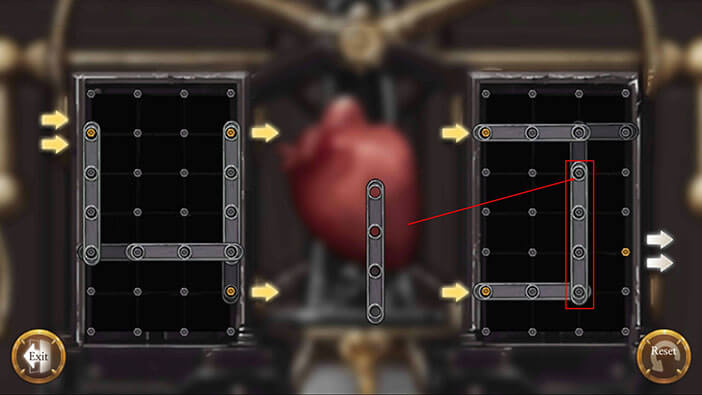
Finally, take the last vertical part and place it so that its lowest hole fixes onto the gold-colored screw on the right side of the right panel. And… Success! After this minor repair, we restored power to our machine and can continue with the experiment.
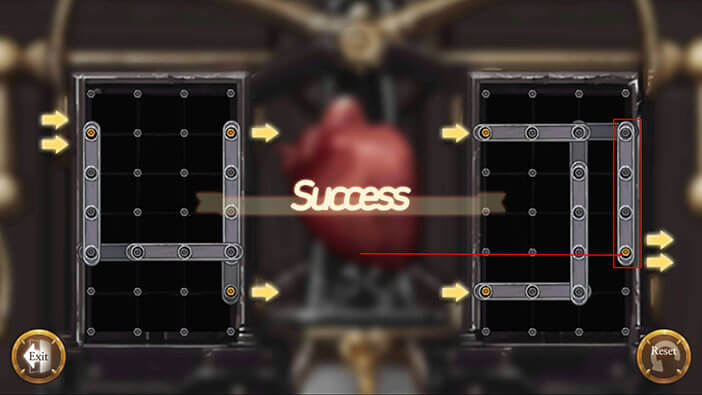
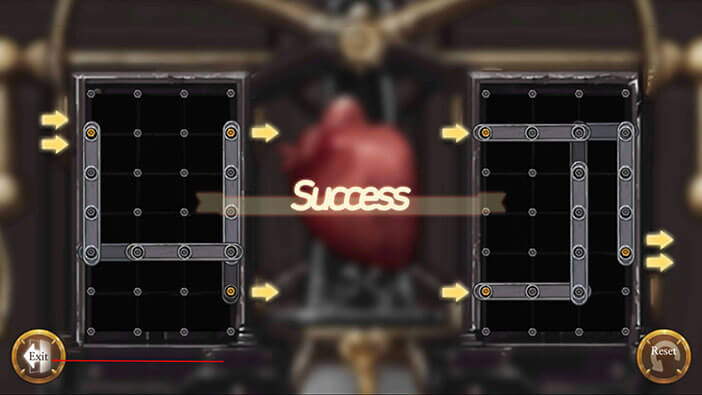
Go back to the machine and pull the lever once more to start the experiment (Fingers crossed)!
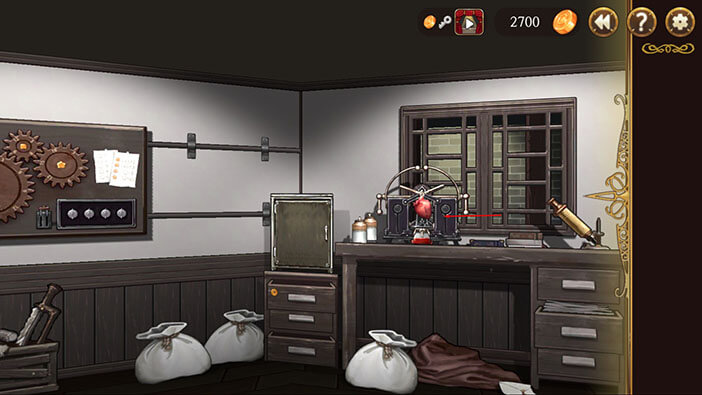
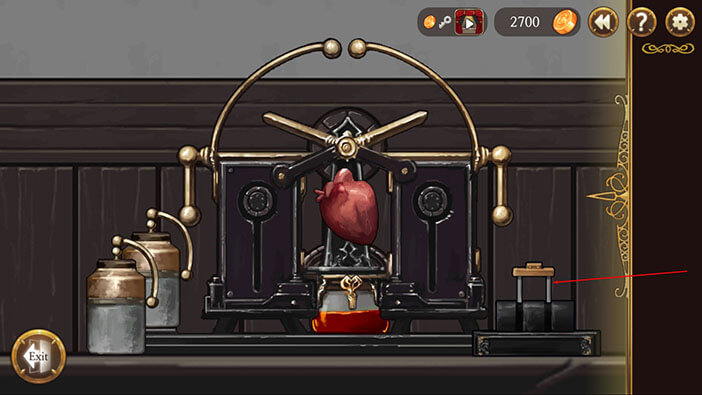
Yes, you can heart the heartbeats, but now we have to find a corpse and try the transplantation. Victor can purchase the corpse from the seller.
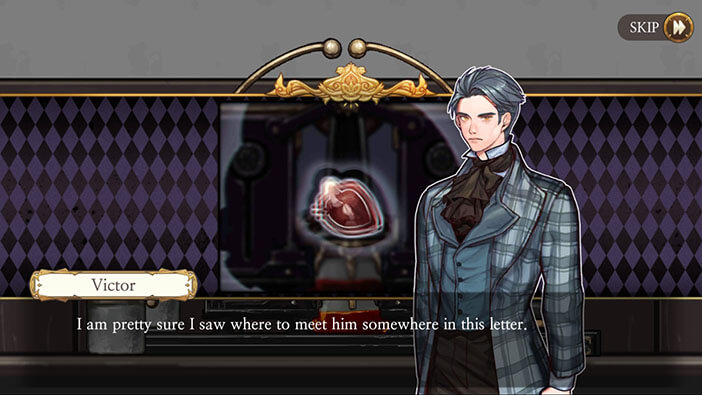
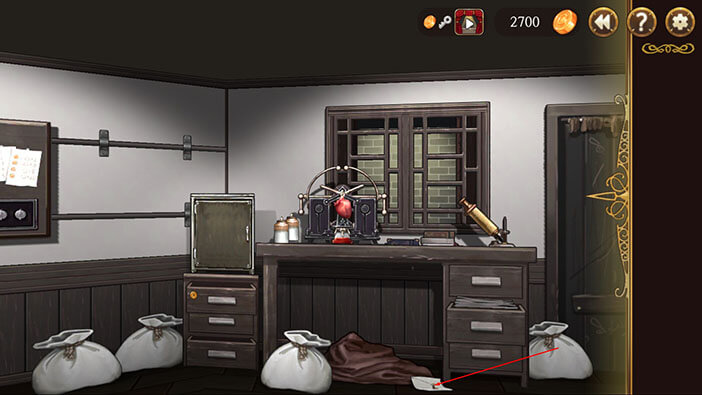
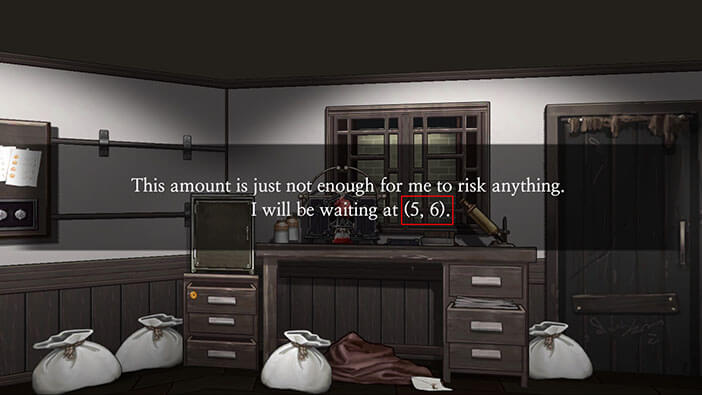
To find out the location of the seller, first tap on the letter located below the right side of the desk. That’s the location of the previous transaction, marked with the coordinates 5, 6.
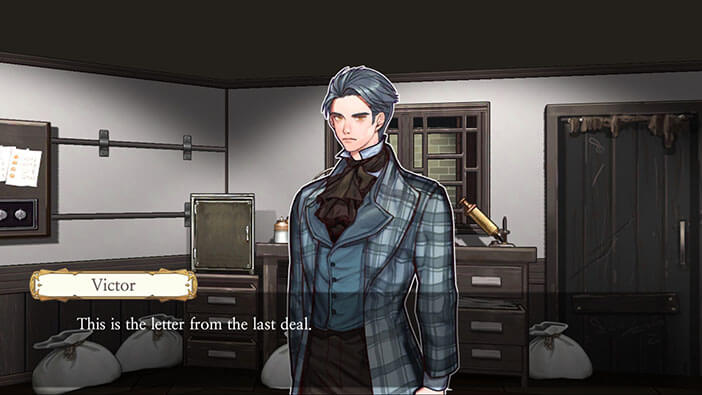
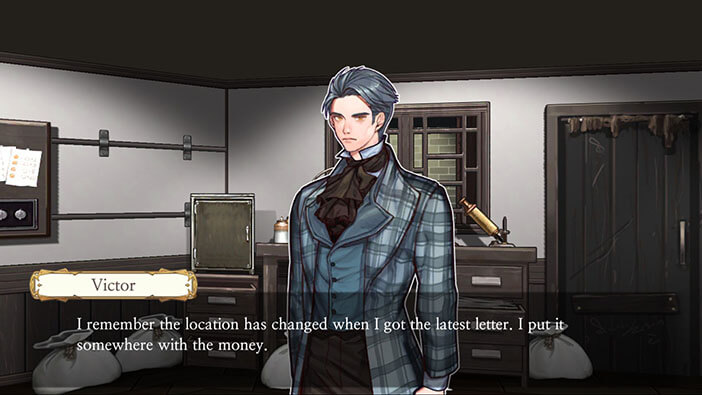
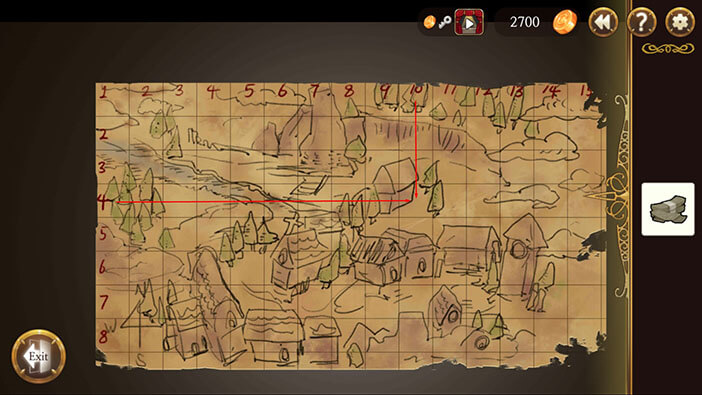
To check out this location, go to the map hanging from the wall, just to the right of the entrance. Tap on it, and you will notice the map of the area marked with horizontal and vertical coordinates. 5, 6 is the tile between the church and the small forest.
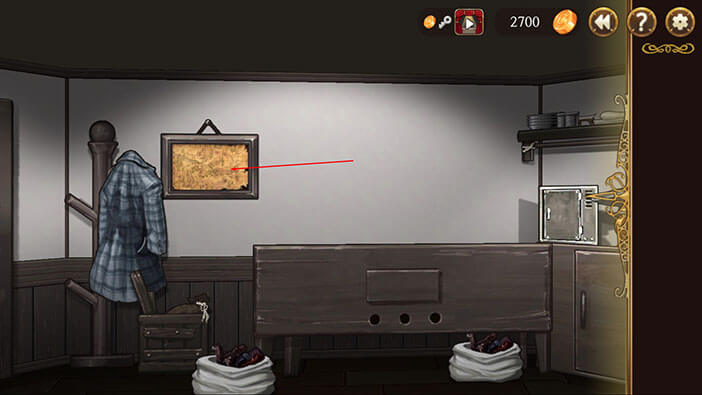
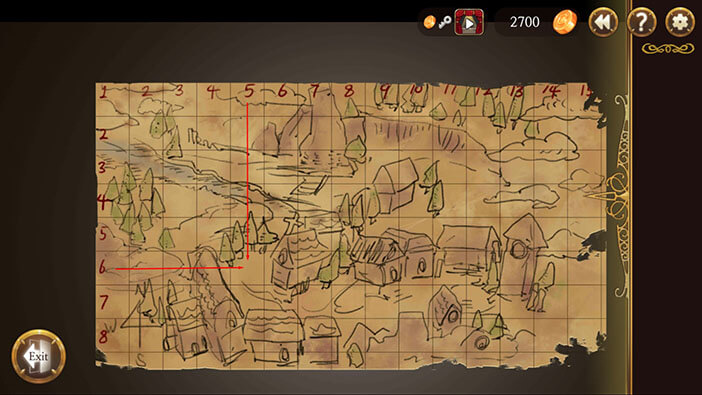
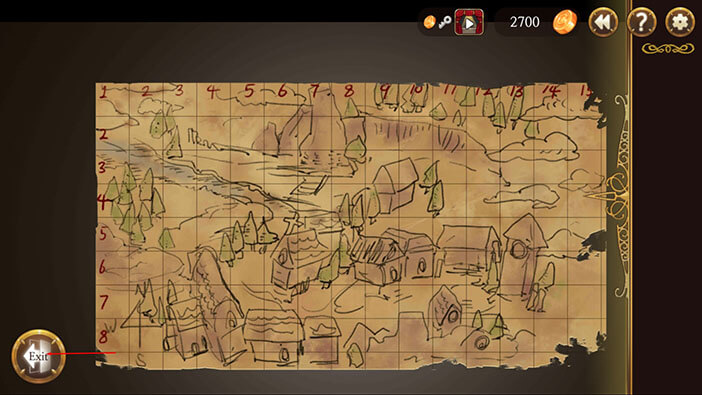
With that in mind, go back to the bookshelf and tap on the hole on the right side (Victor’s stash). The instructions are to go to the 5, -2 from the previous location for the next transaction. So, the new coordinates would be 10 (5 + 5), 4 (6 – 2). Also, you’ll need more money than the last time to make the purchase.
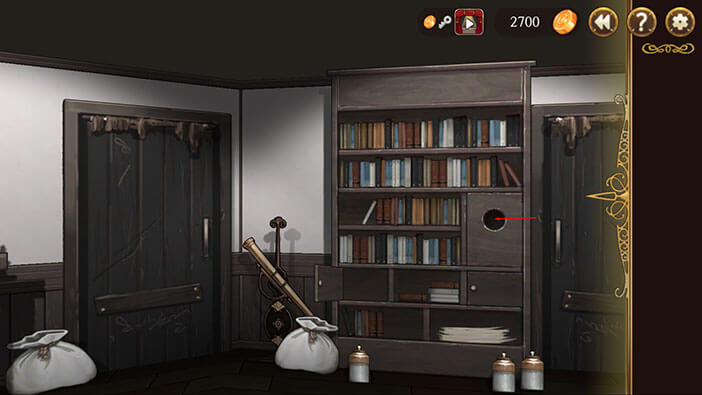
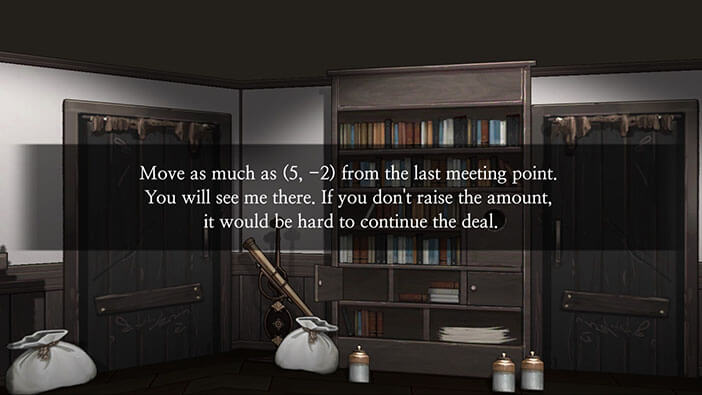
However, Victor doesn’t have any more money and will have to try to close the deal with the amount that he has. It would be a shame if such a groundbreaking experiment fails because of insufficient funding.



Go back to the map and check out the new location. As we already concluded the location is 10 horizontal, 4 vertical. It looks like a house, partially surrounded by trees. Tap on the location to let Victor know where he has to go.
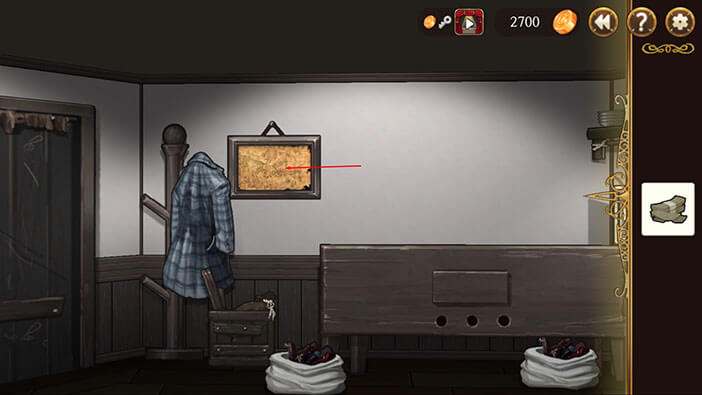

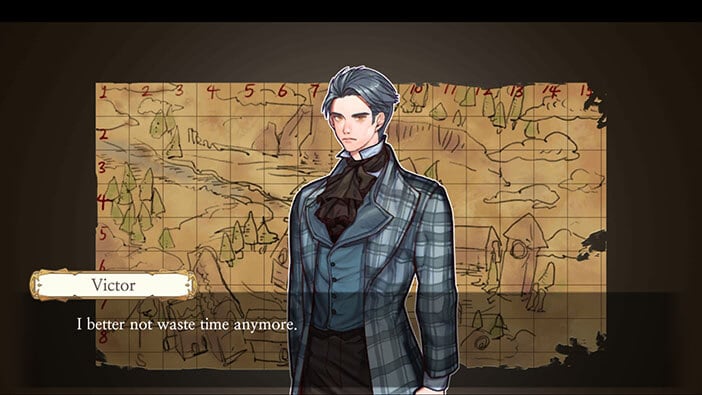
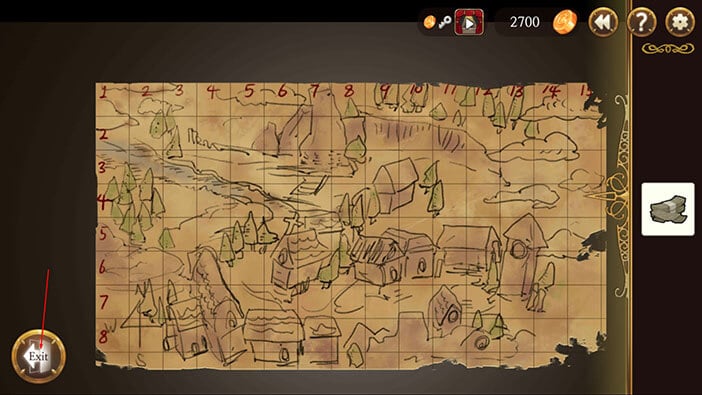
Now, sweep slightly to the left and tap on the door to go outside. Hopefully, we will be able to close the deal and continue our experiment, since we need the corpse quickly and we will have to everything all over again, which will be nearly impossible since the money is already tight.
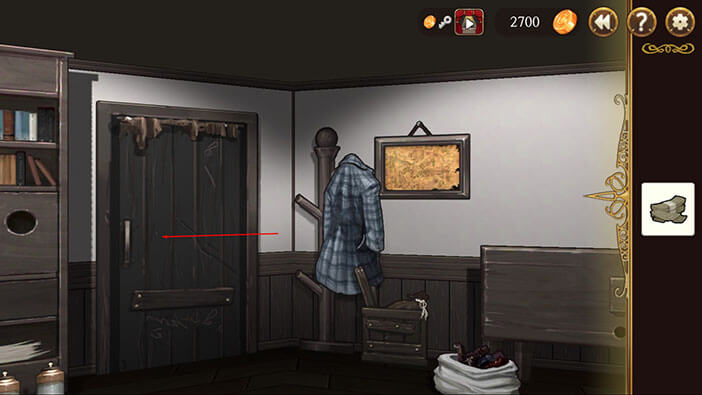
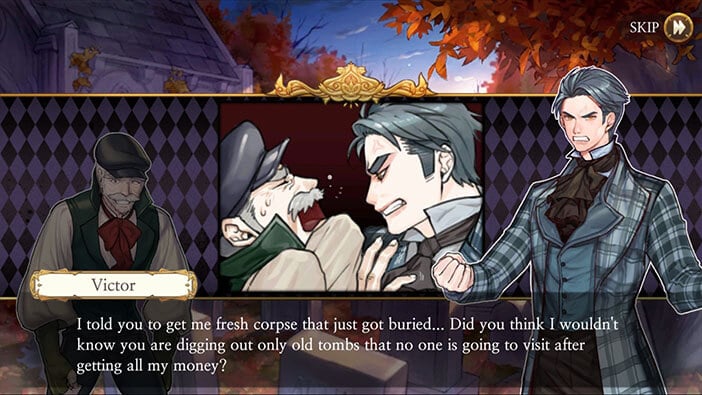
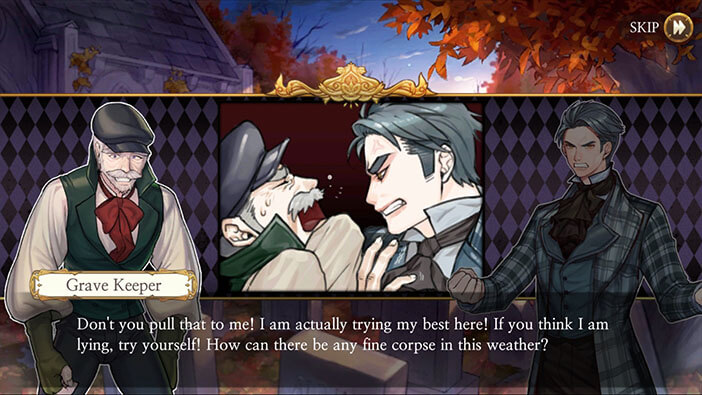
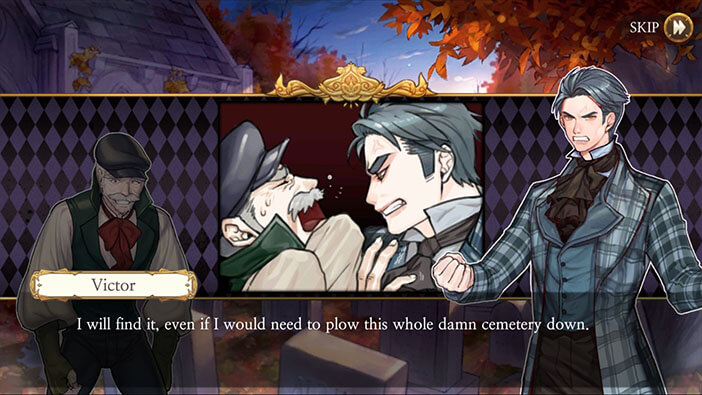
Unfortunately, the seller offered Victor a corpse that was in later stages of decay. In short, unusable for the experiment, since Victor needs someone recently deceased.
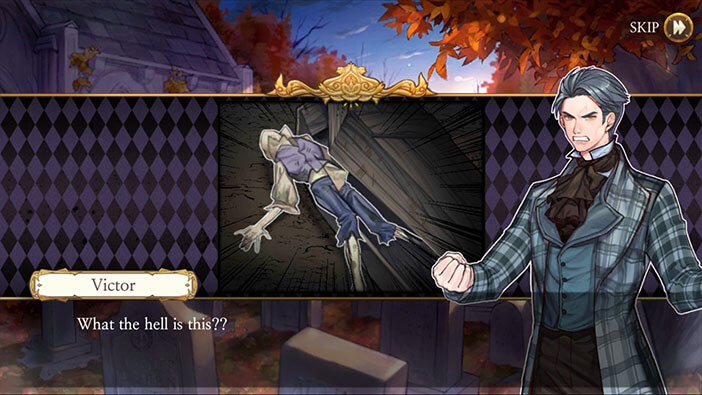
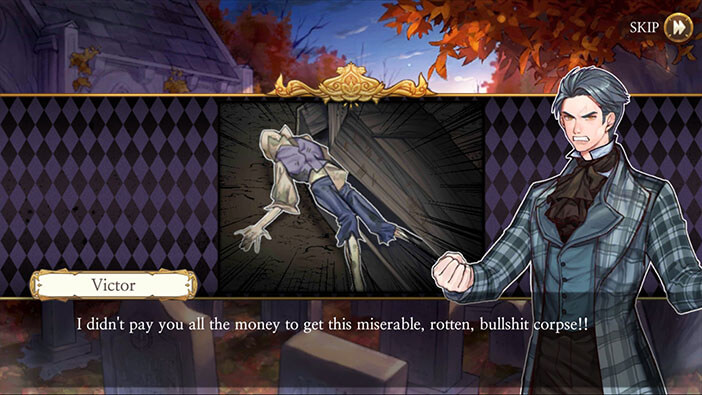
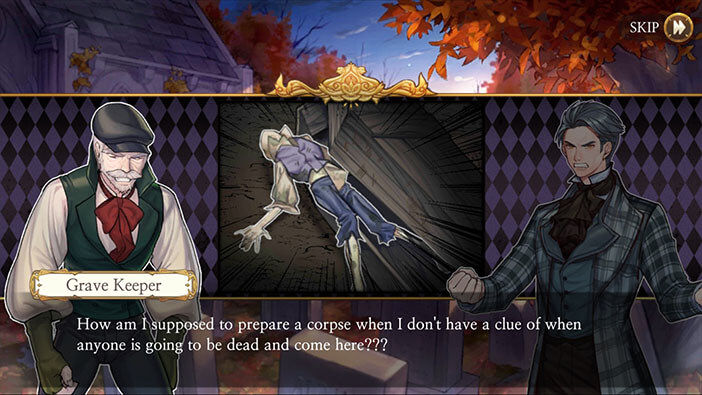
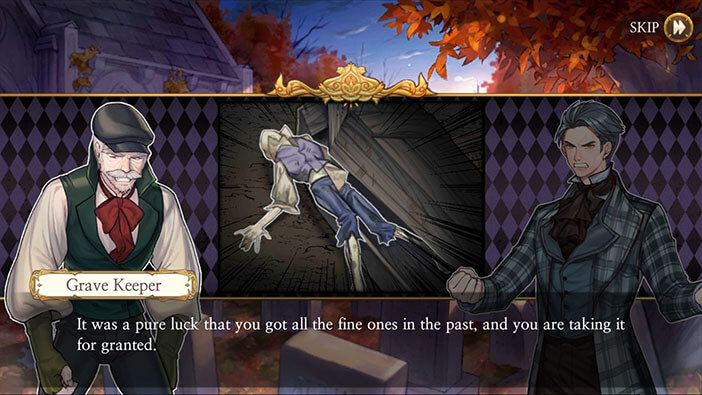
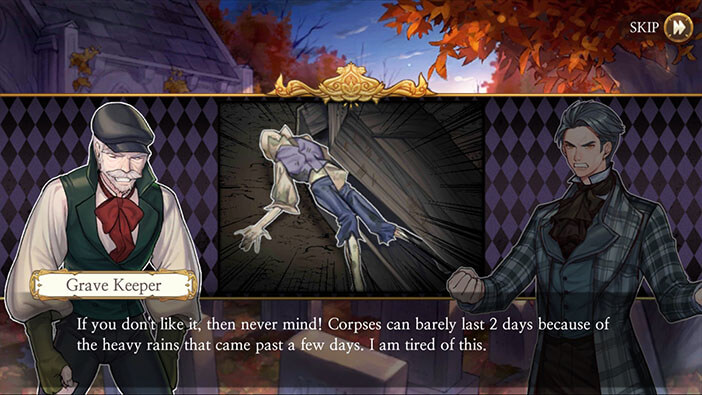
Well, the only way for Victor to get a fresh corpse is to search around the graveyard and dig one up himself. So, that’s our next task.
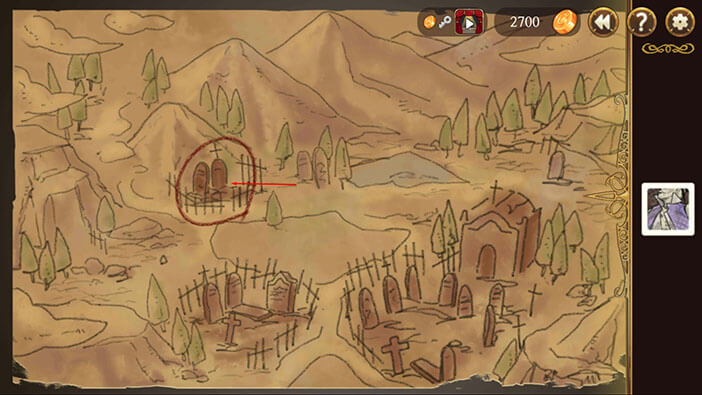
Tap on the part of the map marked with a red circle.
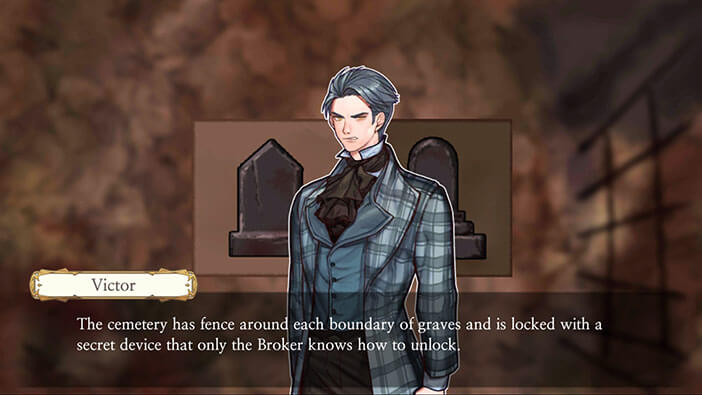
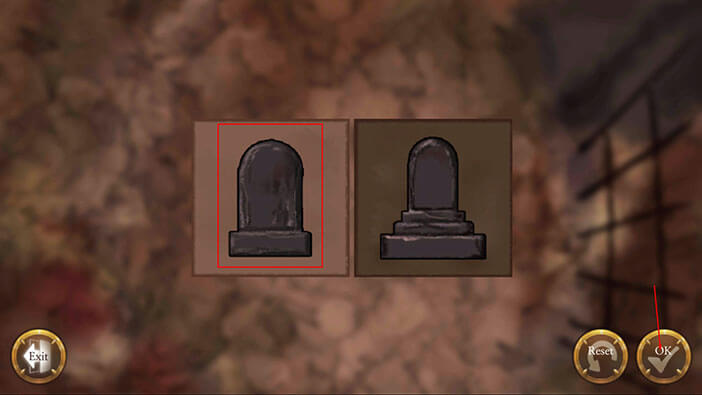
Our protagonist will say that the entrance to every part of the graveyard is locked with some kind of secret device that the only Broker knows how to unlock. Fortunately, Victor already figured out how to unlock it himself – these riddles are just too simple for his brilliant mind. To unlock the graveyards you will have to match the example gravestone with the other one(s) of similar shape.
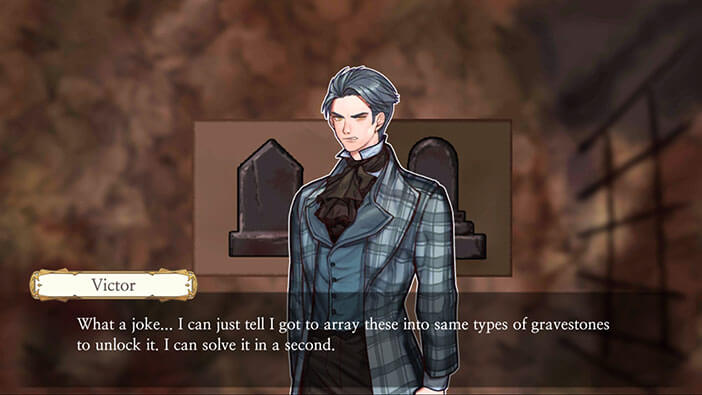
Tap on the gravestone on the left to cycle through all of the possible options. We are looking for a gravestone similar to the one on the right, and it is this one (image below) with a rounded top. Tap OK to unlock the gate.
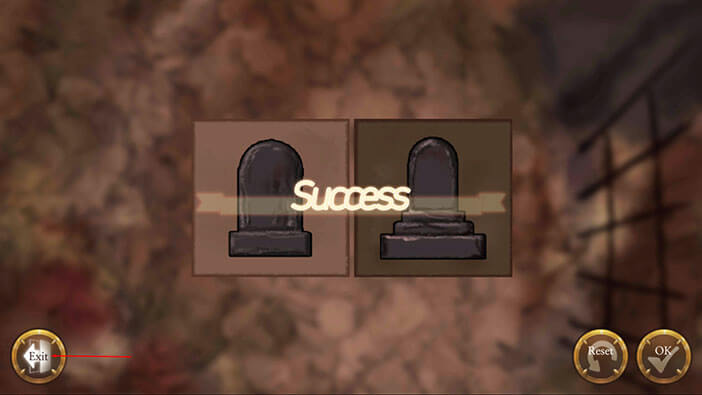
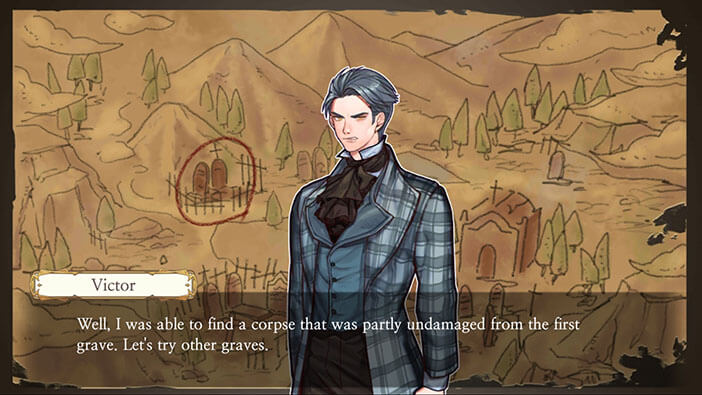
Victor managed to find some undamaged body parts in the first grave, and he can also use some parts from the corpse that he bought. However, his “specimen” is still incomplete and we will have to search through the graveyard for the missing parts.
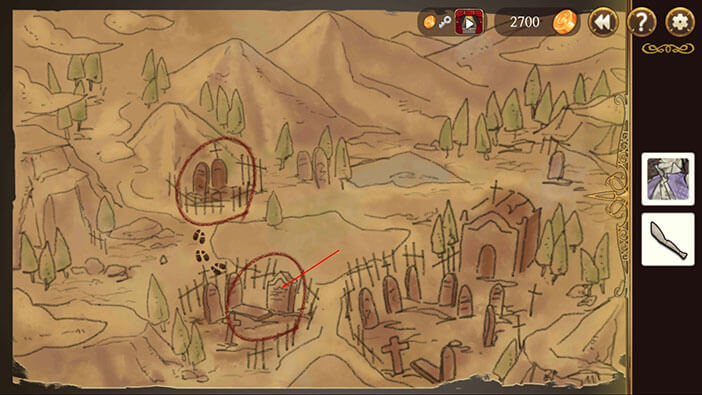
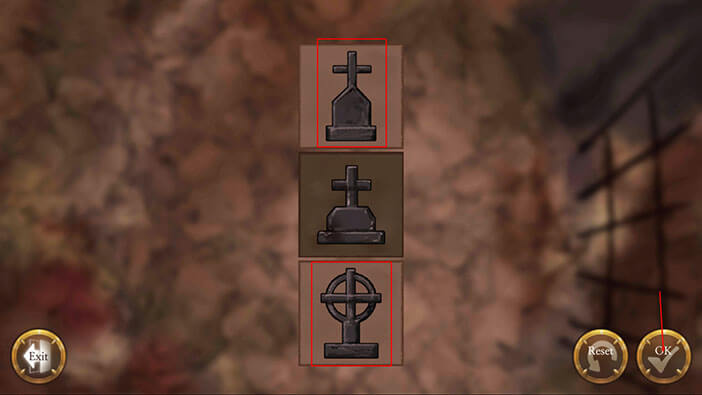
At the second grave, we will have to match the gravestones in the upper and bottom slot with the shape of the gravestone in the middle one. So, we’re looking for gravestones with crosses. Tap on the bottom and upper slots to cycle through the gravestones until you find the ones displayed on the image below. Once you’ve found the matching gravestones press OK to unlock the gate.
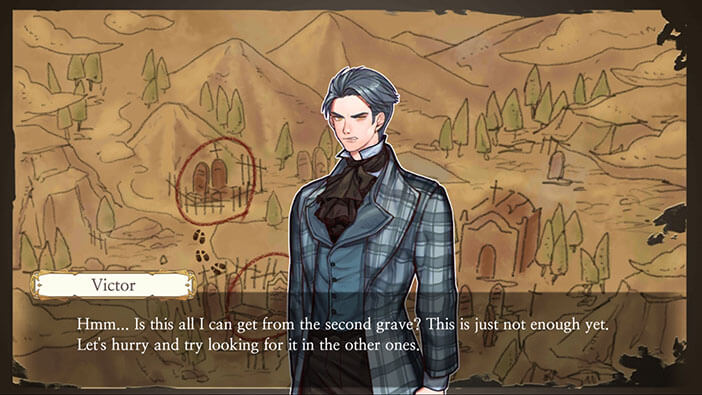
Victor is a bit disappointed. There was only one usable part in the second grave, and we will have to keep searching…
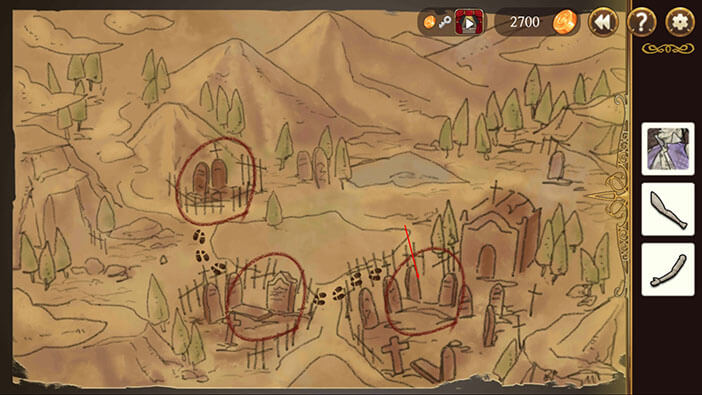
Unlocking the third gate will be much more difficult than the previous two. At this gate, we have a grid consisting of 9 gravestone slots (3×3). Four gravestones are already set, and we will have to pick the other five that match them by shape, both horizontally and vertically. The correct solution is displayed in the image below. When done, press OK to unlock the gate and loot the grave.
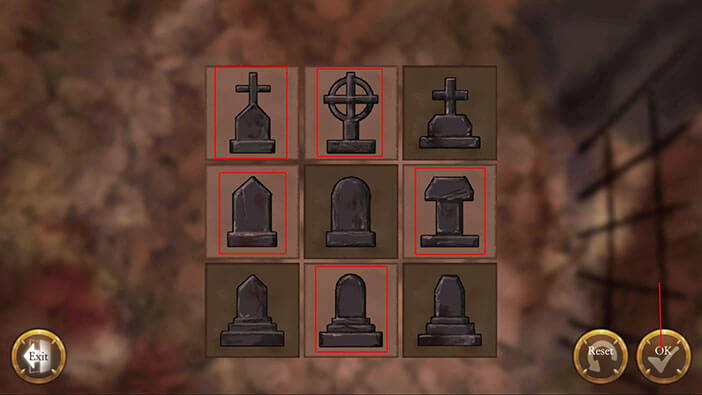
After looting the third grave we have collected all the necessary parts and with that, stage 0-3 is over. Victor now returns to his lab in a hurry, because he needs to get there as soon as possible in order to finish the experiment – that heart won’t be usable forever…
In the next stage, we will continue playing as Victor, who is very short on time and has to hurry back to the laboratory and finish the experiment. Join us in the next stage of the Walkthrough for Frankenstein Room ESC to find out will Victor succeed in his attempt to resurrect the dead.
Thank you for reading.
